As time goes by, your Android phone holds precious photo memories. However, the limited storage will run out one day. It is a great idea to transfer photos from Android to PC. Here we present you with five swift and user-friendly methods to easily transfer photos from Android to computer with/without USB cable. Whether you're a novice or an experienced user, these methods ensure effortless migration. Just read on to efficiently manage, edit, and preserve your cherished moments!
How to Transfer Photos from Android to PC with USB Cable
If you want a fast and stable transfer experience, you'd better export photos from Android to computer with a USB cable.
1. Use DoTrans
Among hundreds of Android photo transfer tools, FonePaw DoTrans is the most distinguished one. It enables efficient cross-platform transfers, making it as easy as pie to transfer photos from Android to PC. Transferring photos from Android to Android is equally effortless, and it even facilitates seamless photo transfer from Android to iPhone.
Free Download Buy with 20% off
- Retain the original image quality at a 1:1 ratio while transferring
- Organize data on Android by categories for easy management
- Provides a preview of Android photos for selective transfer
- Up to 120X ultra-fast transferring speed and stable performance
- Compatible with all Android brands, including Samsung, Pixel, SONY, etc.
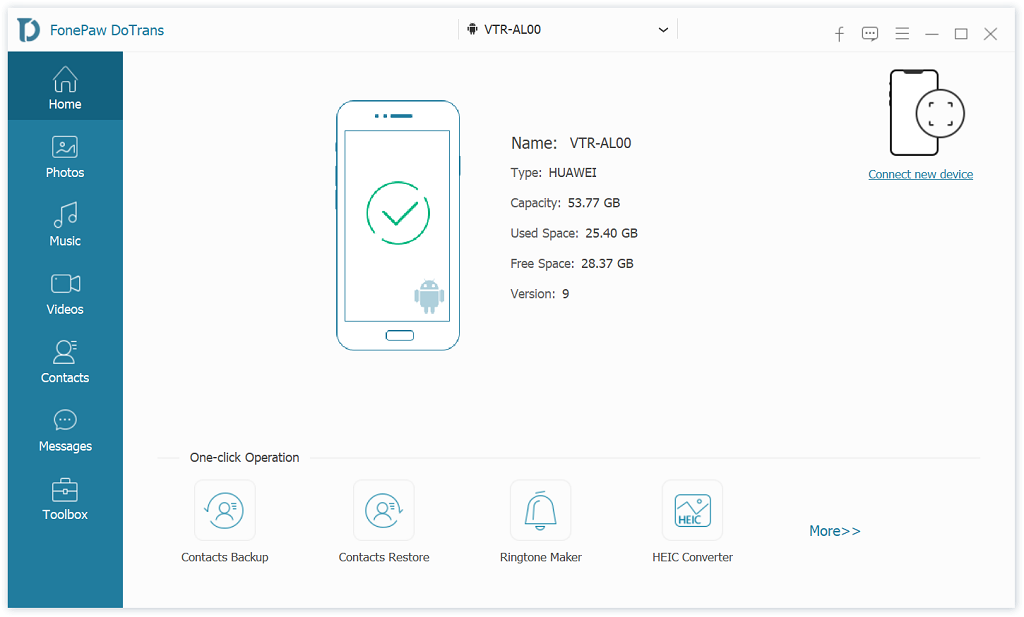
With an intuitive interface, FonePaw DoTrans is easy to use for anyone. Follow the steps below to transfer photos from Android to PC with USB cable.
STEP 1. Free download, install, and run DoTrans on your PC.
Free Download Buy with 20% off
STEP 2. Connect your Android device to PC with a USB cable.
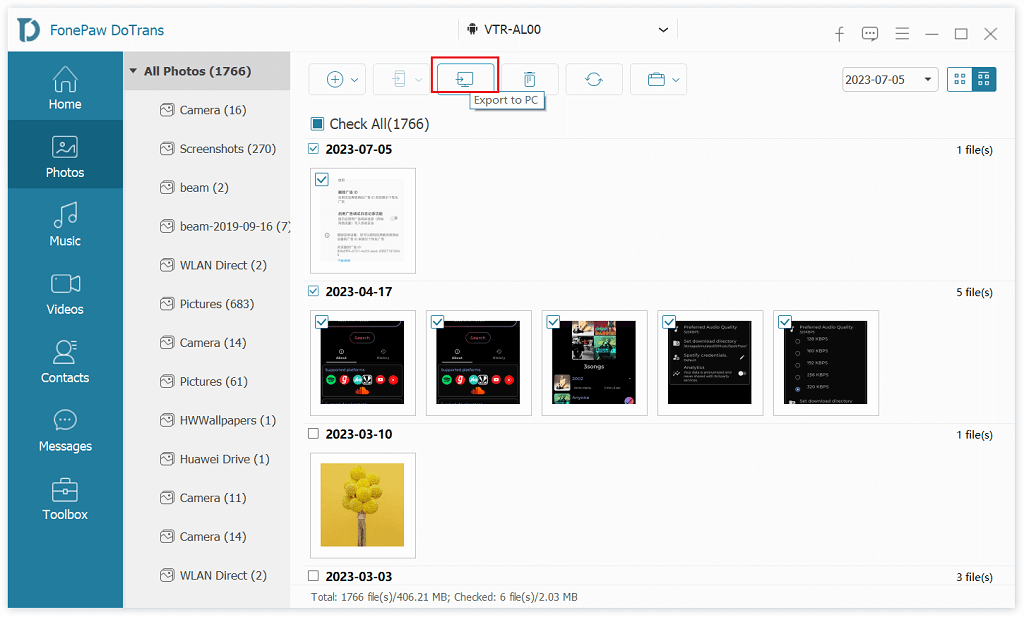
STEP 3. DoTrans displays all your Android data by category. Select Photos, tick all photos you want to transfer, and click Export to PC.
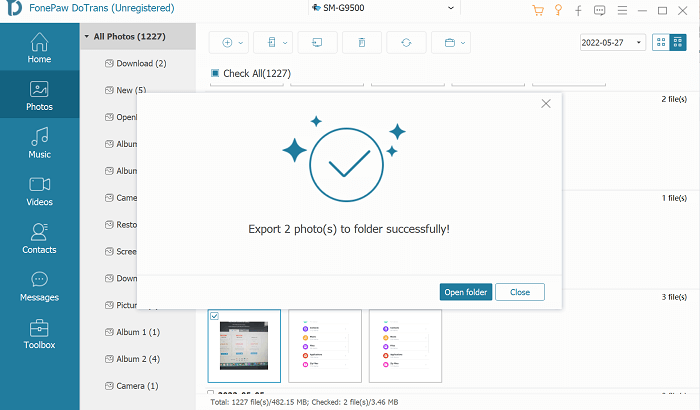
STEP 4. Select a destination folder on your computer and click OK. DoTrans will transfer photos from Android to computer in no time.
You can also follow the step-by-step video tutorial below to transfer photos from Android to PC with USB.
2. Use File Explorer
You can transfer pictures from Android to PC via the old-school method - manually copy pictures from Android to computer on Windows File Explorer.
STEP 1. Connect your Samsung, Pixel, Moto, or other Android phones to PC with a USB cable.
STEP 2. Unlock your Android phone, navigate to the Notification Center and tap File Transfer as the USB option.
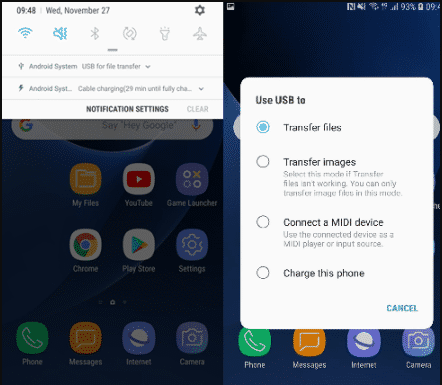
STEP 3. When your mobile phone is successfully detected, open File Explorer and go to My Computer.
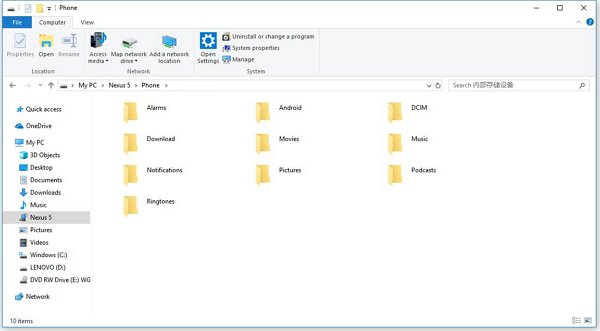
STEP 4. Find a new drive that has the brand/name of your Android phone, for example, GT-I9300. Then enter it. There are multiple folders that could contain your Android photos.
- DICM/Camera: the photos taken by the phone camera;
- DICM/Screenshots: screenshots from the Android phone;
- Pictures/Photos/Images: photos from other sources.
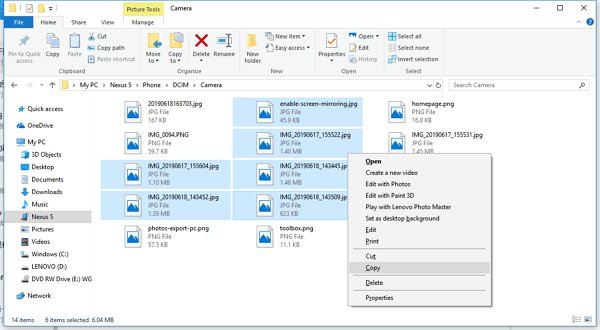
STEP 5. Ctrl-click multiple photos and copy or drag them to a folder on your Windows PC.
3. Use Microsoft Photos (Windows 10/11)
The Photos app on Windows 10/11 can be used to import photos from Android to PC with USB. It provides a preview of photos on your Android phone for selective transfer.
STEP 1. Use a USB cable to connect your Android phone to PC.
STEP 2. Open the Start menu and find Photos app. Run the program.
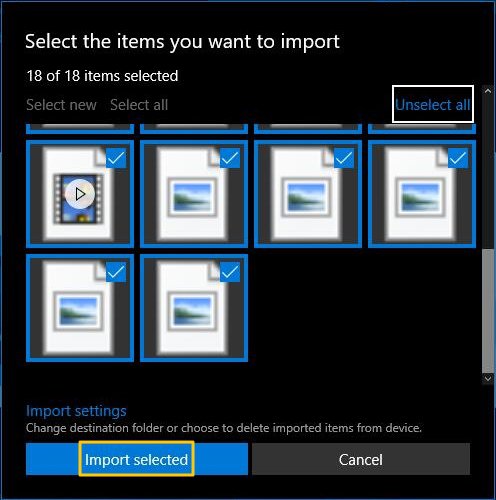
STEP 3. Click Import > From a USB device. The program will load photos and videos from your Android device.
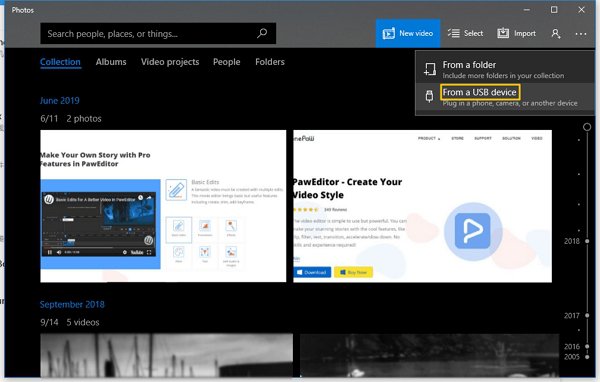
STEP 4. Select all the needed photos and click Import Selected to import photos from Android to PC.
How to Transfer Photos from Android to PC without USB Cable
If you don't have a USB cable at your disposal, here come two ways to get pictures from Android to PC without USB cable.
1. Use Bluetooth
If you only have several photos to transfer from Android to PC, follow the steps below to export photos from Android to PC using Bluetooth.
STEP 1. Enable Bluetooth on our Android device.
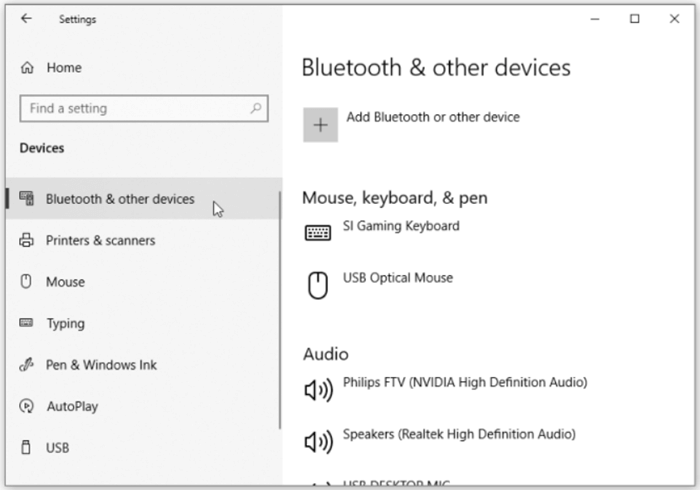
STEP 2. On your PC, go to Settings > Devices > Bluetooth & other devices > Add Bluetooth or other device. Select your Android device from the list and pair them following the instructions.
STEP 3. On your Android device, open the Gallery or Photos app, select the photos, and use the "Share" option to send them via Bluetooth to your paired PC.
STEP 4. On your PC, accept the incoming Bluetooth transfer to receive the photos.
Keep in mind that the speed of Bluetooth transfers might vary, and larger files can take more time. If you're looking for a faster and more stable transfer experience, try to transfer photos from Android to PC with USB cable.
2. Use Google Photos
Another alternative method to transfer photos from Android to PC without USB is using Google Photos. It only needs a stable network for uploading and downloading photos.
STEP 1. Download and install the Google Photos app on your Android device.
STEP 2. Log in with your Google account. And backup your photos to Google Photos.
STEP 3. Visit photos.google.com on your PC and log in with your Google account.
STEP 4. Select the photos, click the three dots, and download pictures from Android to PC.
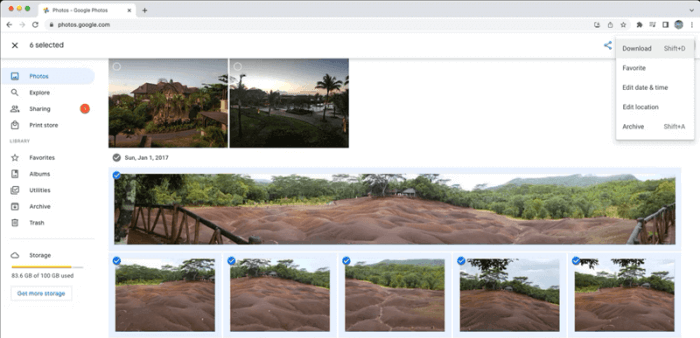
It is convenient to transfer photos from Android to PC with Google Photos, but it does require a significant amount of time for uploading and downloading photos.
Conclusion
Transferring photos from Android to PC can be accomplished through various quick and easy methods. You may consider options like Bluetooth and Google Photos to import photos from Android to PC without USB. For a more comprehensive and efficient experience, you can use FonePaw DoTrans to transfer photos from Android to PC with USB. With its user-friendly interface and stable performance, FonePaw DoTrans ensures a fast, smooth, and hassle-free photo transfer process.
FAQs About Transferring Photos from Android to PC
What is the best way to transfer pictures from Android to a computer?
The best way to transfer pictures from Android to computer depends on your preferences and circumstances:
Using a USB cable with FonePaw DoTrans/File Explorer is often the fastest and most reliable method. And you can use it to transfer hundreds of files from Android to PC together.
If you only want to transfer several photos from an Android phone to PC, wireless methods like Bluetooth or Google Photos are also recommended.
How do I transfer photos from Android phone to Mac?
Use USB Cable:
- Connect your Android and Mac with a USB cable.
- Launch the built-in app Image Capture on your Mac.
- Click on your Android device name and choose the folder that contains photos to be transferred.
- Select the photos and click Download or Download All
Wireless Method:
- Upload photos on your Android phone to cloud drives like iCloud or Google Photos.
- Visit iCloud or Google Photos on your Mac with the same account.
- Download the photos you want to transfer.
This method can also be used to transfer photos from Android to iPhone.


