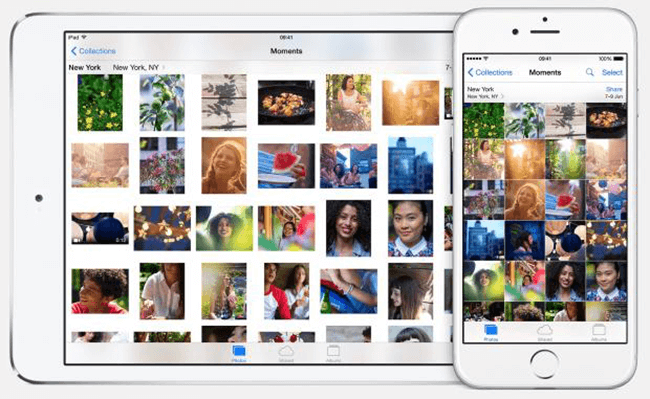
Apple's iCloud offers you the best way to back up photos from iPhone, iPad and iPod touch easily and effectively. It is called iCloud Photo Library (opens new window), which stores every photo and video you take and you will be able to access your library from anytime and any device. So how exactly does it work?
Part 1: Set Up iCloud Photo Library on iPhone, iPad and iPod touch
Make sure your device is running the latest iOS.
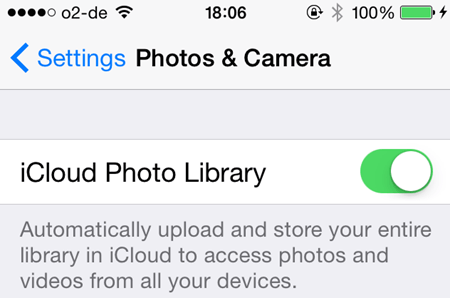
Then go to Settings > iCloud > Photos > iCloud Photo Library.
Toggle the iCloud Photo Library switch to ON.

You will see a message saying that photos synced from iTunes will be removed, then click on Remove Photo.
From the Photos interface, tap Optimize iPhone Storage to keep the full-resolution photos only in your iCloud Photo Library.
Next, select Download and Keep Originals to store the original file format photos on your iOS device.

Part 2: Turn on iCloud Photo Library on Mac
Launch Photos for OS X.
Select Photos from the menu bar.
Choose Preferences from the available options.
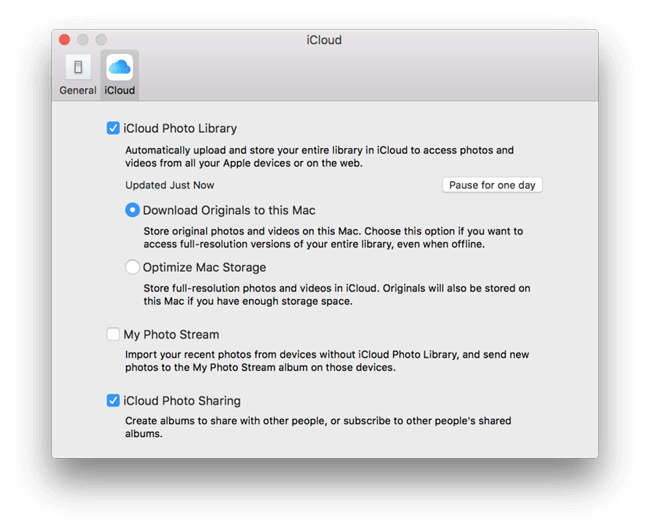
Click on the iCloud tab in the pop up window.
Check the box titled iCloud Photo Library.

It may take a while to upload all photos to iCloud depending on the number of photos in your library and the speed of your Wi-Fi network. Now all of your photos will be available across all of your devices. However, you should note that if you are not available to Wi-Fi, you are not able to back up photos with iCloud. Therefore, it's a wise idea to get tools like FonePaw iPhone Transfer (opens new window) as an alternative to sync and backup your photos from iPhone to PC (opens new window).


